Your Galaxy may show Add eSIM even when there is no plan ready to download. The carrier or travel provider must first give you a way to install one: an assigned plan, a QR code, an app installation option or activation details. If you are moving your regular phone number, the carrier may instead offer a transfer or physical-SIM conversion.
The first useful step is to identify your exact Galaxy model and the method supplied for your plan. Once the eSIM is installed, check which line the phone will use for data, calls and messages before you rely on it.
Samsung Galaxy eSIM Activation in Brief
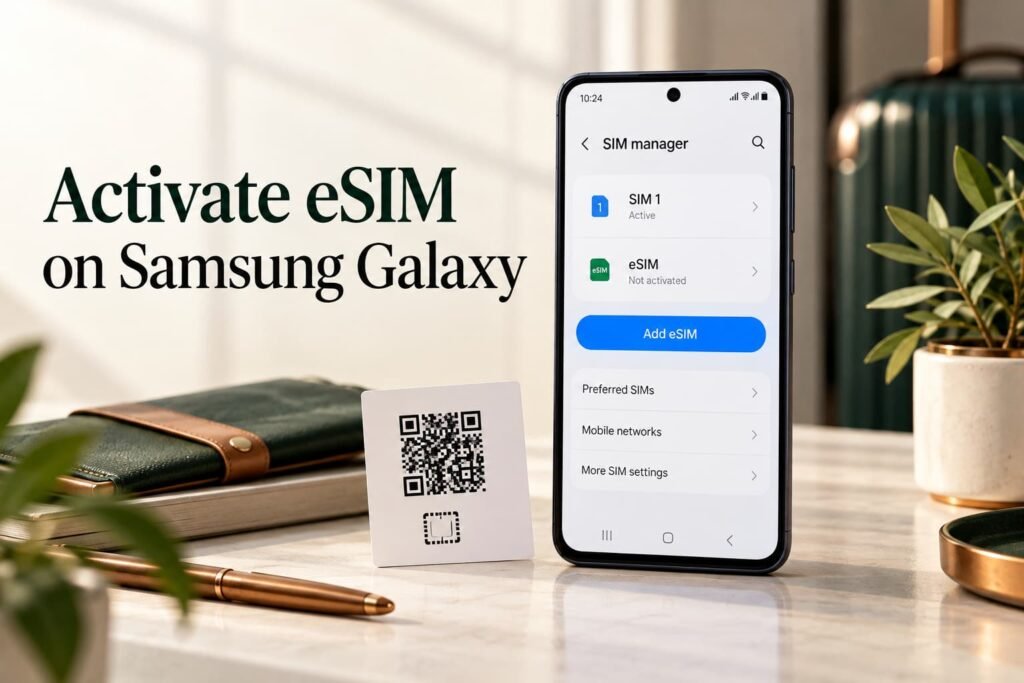
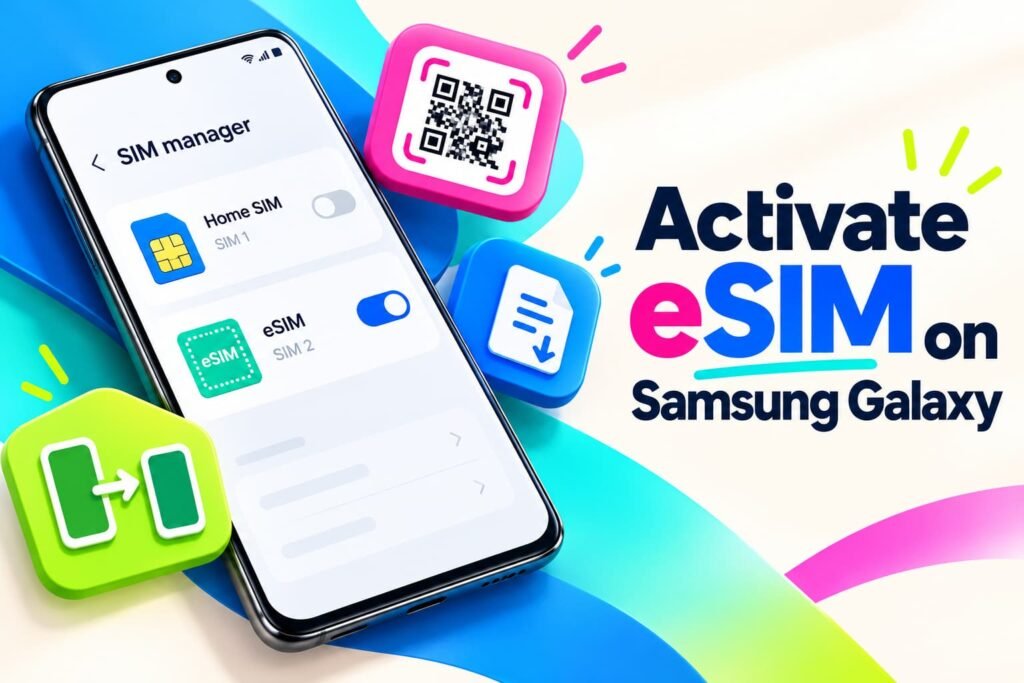
On a compatible phone, open Settings > Connections > SIM manager > Add eSIM. Accept a carrier-assigned plan if one appears, scan the QR code supplied for your plan, or enter the provider’s activation code if that option is available. If your provider offers installation in its app, follow its app and Galaxy prompts.
To move an existing line, choose a supported Transfer SIM from another phone option. To replace the physical SIM for the same line on the same phone, use Convert to eSIM when your carrier offers it. After installation, return to SIM manager and review the available line controls. Depending on the Galaxy model, carrier and software version, your phone may show one Primary SIM control for calls, messages and mobile data or separate line choices for those services.
Which Samsung Galaxy Models Support eSIM?
Many Samsung Galaxy S, Z, Note, FE and A-series phones support eSIM. The exact model number and sales region still matter, particularly for imported devices and A-series phones. Carrier eligibility is a separate requirement, so a phone can support eSIM hardware while a particular carrier or account does not support its activation.
The table below shows confirmed eSIM-capable model groups and the regional checks that still apply.
| Samsung model or family | eSIM support | What to check |
|---|---|---|
| Galaxy S26, S26+, S26 Ultra; S25, S25+, S25 Ultra, S25 Edge; S24, S24+, S24 Ultra; S23, S23+, S23 Ultra | Supports eSIM | Confirm the exact regional model and carrier eligibility. |
| Galaxy S22, S22+, S22 Ultra; S21, S21+, S21 Ultra; S20, S20+, S20 Ultra | Supports eSIM on compatible regional variants | Check older carrier-sold or imported versions individually. This row does not include every FE model. |
| Galaxy Z Fold8 Ultra, Z Fold8, Z Flip8; Fold7, Flip7, Flip7 FE; Fold6 and Flip6, plus supported earlier Fold and Flip models | Supports eSIM | Confirm the generation, sales market and carrier, particularly for an older or imported device. |
| Galaxy Note20 and Note20 Ultra | Supports eSIM on confirmed regional variants | Samsung confirms support for Australian variants. Check the exact model number for a Note20 sold in another market. |
| Galaxy S23 FE, S24 FE, S25 FE and S26 FE | Supports eSIM | Do not infer support for the S20 FE or S21 FE from newer FE models. Check those phones separately. |
| Galaxy A54 and A35 | Supports eSIM in specified regions | A54 support is confirmed for Europe, North America, Korea and Japan. A35 support is confirmed for Europe, North America and Korea. |
| Galaxy A16 5G, A17 5G and A26 | Supports eSIM on North American variants | Verify the exact local model and carrier before activation. |
| Galaxy A36, A37, A56 and A57 | Supports eSIM, with regional availability varying by model | The A36 has specific regional restrictions. Confirm the sales-market specification for the other models. |
Samsung’s current Galaxy device guidance confirms the S, Z, FE and A-series model groups shown above while warning that eSIM availability can still differ by country of origin. Samsung’s Australian guidance separately confirms eSIM support for the Galaxy Note20 and Note20 Ultra sold in that market. If you are checking an imported phone or an A-series model, use the full model number rather than relying only on the marketing name.
Before You Start: Check Your Samsung Phone and the Plan
A few checks prevent you from following the right steps on the wrong device or with a plan that has not been issued yet:
- Open Settings > About phone and note the model number. Samsung also shows the phone’s IMEI there; other identifiers, including the EID on supported devices, may appear in the phone’s status information. A carrier may request device identifiers to assess or assign service. Give them only through its official account or support channel.
- Check the exact model and sales region. Our eSIM Compatibility Checker helps you make that check before you buy or install a plan.
- Confirm that the carrier or travel provider accepts your phone. If the new eSIM uses a different carrier, verify that the Galaxy is unlocked. A phone sold by a carrier is not automatically unlocked or locked; its actual status controls.
- Check for available software under Settings > Software update or System updates, as labeled on your phone. Samsung says both the update menu and its options can vary by model and carrier.
- Have a reliable internet connection and the specific QR code, app instructions, manual code or carrier-assigned plan for your account.
- If you are moving a number, keep the previous phone, working SIM and any account-verification method available. Do not erase or trade in the old phone first.
Samsung explains where to find a Galaxy model and IMEI and how to check for a software update. If you need a broader starting point before choosing a device-specific procedure, the eSIM Setup & Compatibility hub organizes those decisions.
Choose the Right eSIM Activation Method for Your Samsung Galaxy
A normal carrier eSIM often represents your existing phone number or a newly opened line with calls, texts and data. A travel eSIM is commonly a separate, temporary data plan. Installing the travel plan should not be confused with transferring or converting your regular line.
This table identifies the first action for each situation. The sections that follow give the actual Galaxy steps.
| Your situation | Start with |
|---|---|
| The carrier says an eSIM has been sent to your phone | Its notification or the plan detected under Add eSIM. |
| You received a QR code | Add eSIM > Scan QR code. |
| The provider offers installation in its app | The official app and its instructions for this purchased plan. |
| You received manual activation details | Enter activation code, if offered on the QR setup screen. |
| You are moving an existing number to a new Galaxy | A carrier-supported phone-to-phone transfer or the carrier’s device-change process. |
| You are replacing a physical SIM on the same Galaxy | Carrier-supported Convert to eSIM. |
Do not switch methods just because another one looks easier. In particular, opening Add eSIM cannot find a carrier plan that has not been assigned to your device.
Activate an eSIM Assigned by Your Carrier
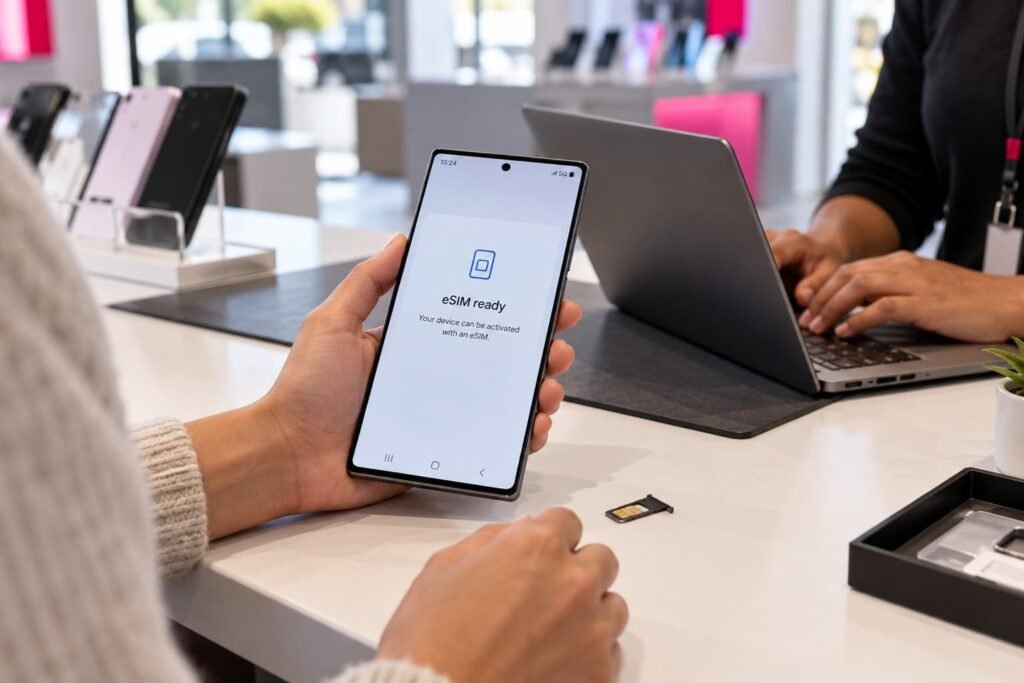
Samsung supports both a carrier eSIM ready notification and discovery of a plan already assigned to the Galaxy. Which route appears depends on the carrier, account and device.
- Connect the Galaxy to a reliable internet connection and complete the carrier’s new-line, upgrade or device-change instructions.
- If an eSIM ready notification appears, open it, choose Add and follow the download prompts.
- If there is no notification but the carrier says it assigned a plan, open Settings > Connections > SIM manager > Add eSIM. Select the detected plan if one appears.
- Complete any account-verification prompts. Restart the phone if the activation instructions request it.
- Return to SIM manager and check that the new line appears. Then test the services included with the plan.
Samsung documents carrier push and carrier discovery as separate routes. If neither the notification nor the plan appears, ask the carrier whether it has provisioned the correct line for this Galaxy. Scanning an unrelated QR code will not resolve an unassigned plan.
Install a Samsung eSIM With a QR Code
Use the code issued by the carrier or travel provider for this plan:
- Display the QR code on a second screen or a printed page.
- On the Galaxy, open Settings > Connections > SIM manager > Add eSIM.
- Tap Scan QR code and place the supplied code within the scanner.
- Confirm the plan shown on the phone and follow the prompts until the profile downloads.
- Restart if prompted, then look for the new profile in SIM manager.
That path follows Samsung’s U.S. QR instructions. Older software and some carrier pages may call the menus SIM card manager and Add mobile plan. Use the equivalent option shown on your phone rather than expecting every Galaxy to have identical wording.
If the code arrived on the Galaxy itself, see whether the eSIM scanner offers a way to select its saved image. Otherwise, display it on another device or ask the provider for its supported app or manual-entry option. A QR code may be restricted to its assigned plan or installation; confirm replacement or reuse rules with its issuer.
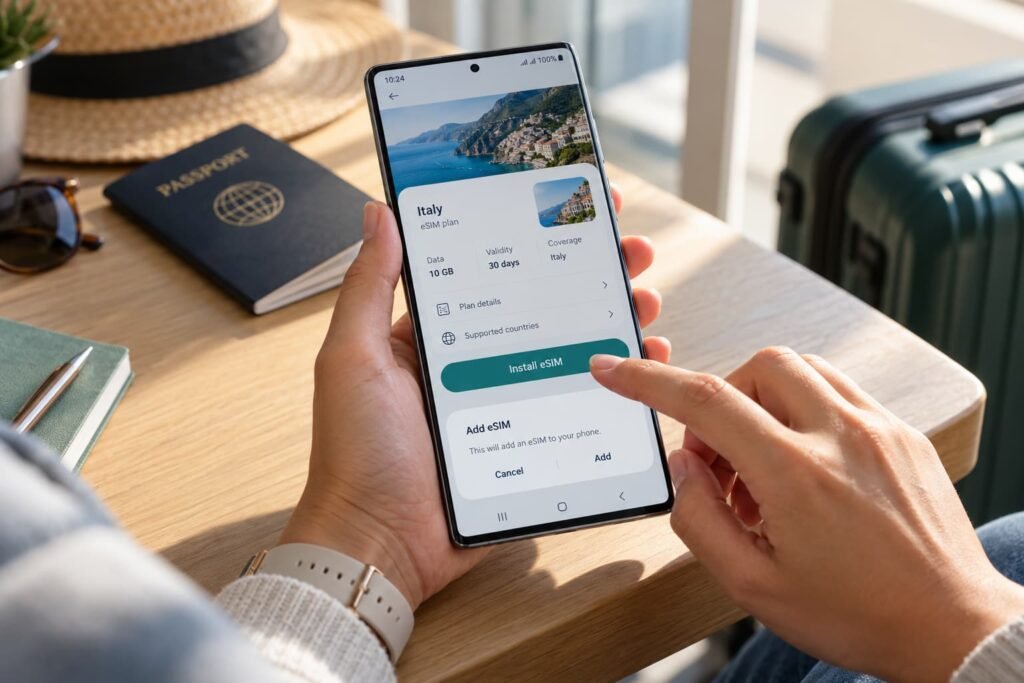
Install an eSIM on Your Samsung Galaxy Through a Carrier or Travel eSIM App
Some providers let you begin installation from their official app. This can save you from displaying a QR code on another screen, but it does not create a universal Samsung app workflow. The app may authenticate your account and then hand installation over to Galaxy settings.
- Install the provider’s official app and sign in to the account that owns the plan.
- Select the exact line or travel eSIM you purchased.
- Choose the app’s Install or equivalent option and read its timing instructions before confirming.
- Approve the Galaxy prompts to add the eSIM.
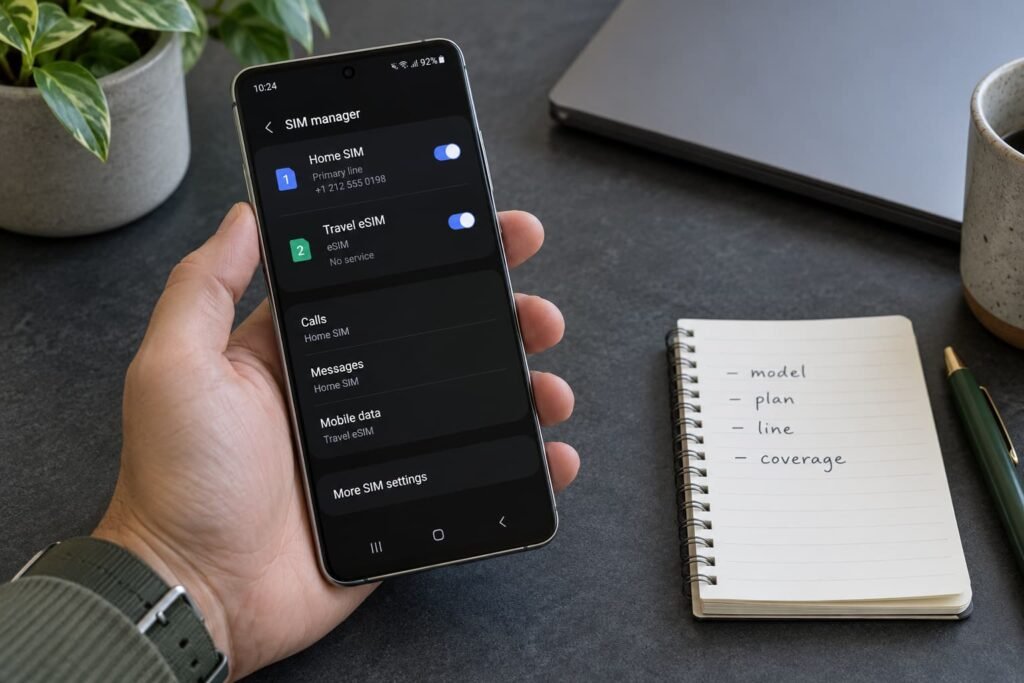
- Check SIM manager for the profile, then review the Primary SIM or available line preferences for mobile data, calls and messages.
For example, Holafly documents an in-app installation path for Samsung, and T-Mobile documents a separate Prepaid eSIM app for eligible prepaid activation. Those are provider-specific examples, not steps every carrier or travel eSIM app supports. A postpaid carrier line may require a different account or device-change process.
Enter Samsung eSIM Activation Details Manually
If your provider supplied an activation code instead of a QR code, Samsung documents the following route on supported Galaxy software:
- Open Settings > Connections > SIM manager > Add eSIM.
- Tap Scan QR code, then look for Enter activation code.
- Enter the code and any other details supplied for your plan exactly as provided.
- Confirm the download and wait for the profile to appear in SIM manager.
The manual option may differ or be absent on a particular software or carrier version. Samsung’s manual-entry guidance applies when a provider issues the required credentials. Do not copy an activation address or code from an unrelated website. If your provider supplied only a QR code, ask it whether manual details are available.
Transfer an Existing Line to a New Samsung Galaxy
Transferring a line keeps the existing number but moves its service to the new phone. Samsung provides a Transfer SIM from another phone option on supported devices and carriers. Other accounts require a carrier app, website, newly assigned eSIM or support-assisted device change.
For a supported Galaxy-to-Galaxy or Android-to-Galaxy transfer:
- Keep both phones nearby, unlocked and available. Connect the new Galaxy as requested during setup.
- On the new Galaxy, open Settings > Connections > SIM manager > Add eSIM and select Transfer SIM from another phone or the Galaxy/Android transfer option shown.
- Approve the transfer on the old phone.
- Enter the verification code displayed by the new Galaxy on the old phone when requested.
- Select the line to move and confirm the prompts on both devices.
- Wait for the line to appear on the new Galaxy. Test its calls, messages and data before resetting the old device.
Samsung’s transfer instructions describe that device-side sequence and list carriers that may allow instant transfer. Seeing a compatible phone does not establish that your particular carrier, account or line qualifies.
Keep the Old Galaxy Available Until the eSIM Transfer Is Complete
Moving a phone number can deactivate service on the previous phone once the new line becomes active. Keep the old device and its working profile available for approval and account-security messages until the new Galaxy has working service. If the transfer stalls, preserve the old profile and ask the carrier for its supported recovery path. Deleting it does not guarantee that you can download it again.
Convert a Physical SIM to eSIM on the Same Galaxy
Conversion replaces the physical SIM used for an existing line with an eSIM on that same phone. It does not add a separate travel plan.
- Confirm that your carrier supports conversion for your account and Galaxy.
- Open Settings > Connections > SIM manager.
- Select the physical SIM you want to convert.
- Tap Convert to eSIM, if displayed, and confirm the carrier and phone prompts.
- Wait for the eSIM to appear and test the line before removing or discarding the physical card.
Samsung documents the Convert to eSIM option, while noting that carrier support controls the available eSIM capabilities. If the button does not appear, contact the carrier about its conversion method. Do not substitute a travel-eSIM QR code for your regular carrier line.
How Samsung Galaxy eSIM Activation Differs With U.S. Carriers
AT&T, Verizon and T-Mobile all have Samsung eSIM paths, but new service, an upgrade, bringing your own phone, moving a number and prepaid activation are different account transactions. Complete the carrier transaction first, then use the Galaxy installation method it supplies.
AT&T
An eligible Galaxy may receive an assigned eSIM and setup prompt. AT&T’s Galaxy S25 push-notification instructions illustrate that route for a specific phone; they do not establish the method for every AT&T Galaxy or account.
AT&T Prepaid’s Samsung instructions also describe a notification or Connections > SIM manager > Add eSIM. A customer with a prepaid QR activation kit follows the code supplied with that kit. If the eSIM downloads but service is unavailable, the AT&T device or account activation step may still need completion. Begin with the instructions attached to your AT&T order or device change.
Verizon
For a new standard monthly line, Verizon directs customers through My Verizon or its website, with different entry points for a new account and an added line. For an existing number moving to another phone, Verizon has a separate My Verizon device-change process with account-role and device requirements. Some Android devices need a QR code during setup; others use an assigned profile. Verizon separates these paths from prepaid instructions.
Do not assume the Galaxy’s phone-to-phone transfer button alone completes a Verizon account change. Follow the path Verizon gives for the line and specific device. A phone brought from another carrier must meet Verizon’s unlock and compatibility requirements.
T-Mobile
T-Mobile’s Samsung eSIM guidance says a supported Galaxy may offer activation or transfer during initial setup. After setup, an assigned eSIM may prompt installation while the phone is connected to Wi-Fi; if the prompt is missed, T-Mobile directs users to Settings > Connections > SIM manager > Add eSIM. That page also points to Samsung device tutorials.
T-Mobile’s Prepaid eSIM app is a distinct route for new eligible prepaid service, including on supported Android phones. It is not the general method for an existing postpaid line. Check T-Mobile’s eligibility and account instructions before choosing the app, transfer or carrier-assigned route.
Install and Configure a Travel eSIM on a Samsung Galaxy
Installing before departure gives you time to confirm that the profile has reached your phone while you still have a good connection. First read the provider’s validity and activation policy: some plans start when installed, while others start after a first connection to a supported network. A regional or global plan could include the country you are in before departure.
Once the provider says it is appropriate to install:
- Use its QR code, supported app installation or manual details to add the travel profile.
- In Settings > Connections > SIM manager, identify the new eSIM by its provider or destination name. Give it a clear label if your Galaxy offers that option.
- Keep your home line identifiable. When you are ready to use the travel eSIM for mobile data, select it using the line controls available on your Galaxy.
- Review the Primary SIM or available line preferences for calls and messages. A data-only travel plan does not replace your home phone number or supply voice and SMS simply because it is installed.
- Follow the travel provider’s instructions for Data Roaming on the travel service. Check the controls available on your Galaxy and avoid allowing unintended data roaming on the home line.
- Test the travel connection once the plan is meant to work at your location.
Samsung explains Galaxy line selection, while the provider controls its plan-start and roaming requirements. Leaving the home SIM enabled may keep your number reachable, but calls, texts or other activity can still incur your home carrier’s roaming charges. Decide whether to keep it on based on that carrier’s terms and your need for the number.
How to Confirm That Your Samsung eSIM Is Active
An eSIM appearing in SIM manager confirms installation. Working service requires more. Before relying on the line, check:
- Profile: The expected carrier or travel eSIM appears in Settings > Connections > SIM manager.
- Enabled line: The eSIM is switched on, and any requested restart has finished.
- Network: The phone registers on a supported mobile network when the plan is supposed to be usable.
- Data choice: The intended eSIM is selected for mobile data. Turn Wi-Fi off briefly and load a webpage to test cellular data.
- Voice and SMS: If the plan includes them, place a call and send a message using the new line.
- Old service: After a completed transfer or conversion, check which phone or SIM now carries the number before retiring the previous one.
A travel eSIM installed at home may have no usable destination service yet. That can be normal under its coverage or start conditions. Test it again when the provider says the plan should connect.
What to Do if the Samsung eSIM Does Not Activate
Identify which stage failed before repeating the installation:
- Add eSIM is absent: Check the exact model, region, software and carrier eligibility.
- An assigned plan does not appear: Ask the carrier whether it provisioned the correct device and account.
- The QR code or manual details are rejected: Confirm the code belongs to this plan; ask its issuer whether replacement credentials are needed.
- A transfer cannot complete: Keep the previous line intact and use the carrier’s supported device-change route.
- The profile is present but has no service or data: Check the enabled line, selected data SIM, plan-start conditions and destination coverage.
Save the exact message shown on the Galaxy and your provider’s order details. Keep an installed profile unless the issuer explains how it can be restored. For deeper, symptom-specific recovery, use the eSIM Troubleshooting guides.
Frequently Asked Questions About Samsung Galaxy eSIM Activation
Why Is Add eSIM Missing From My Samsung Galaxy?
First check Settings > About phone for the exact model number, then compare that regional version with Samsung’s eSIM specifications and your carrier’s eligibility rules. A Galaxy family name alone is insufficient, especially for an imported phone or an A-series variant. A carrier version or older software can also change which setup options you see.
Check Settings > Connections > SIM manager and install an available software update. If the exact variant is confirmed to support eSIM but the option still does not appear, give Samsung or the carrier the model number and software version so they can assess that phone. Do not assume a QR code or app can add eSIM capability to a variant that lacks it.
How Long Does eSIM Activation Take on a Samsung Galaxy?
A profile may download quickly on a good connection, but there is no reliable time that applies to every Galaxy and carrier. Account verification, number transfer and carrier provisioning can continue after the download. A travel eSIM can be installed now yet remain unusable until its destination or start condition is met.
Judge completion by the services you bought, rather than a timer or the profile’s presence in SIM manager. If the phone remains on an activation screen or the line cannot connect when it should, record the exact status and contact the carrier or provider. Avoid repeated QR attempts or profile deletion without its recovery instructions.
Will Adding a Travel eSIM Change My Samsung Galaxy Phone Number?
Adding a separate data-only travel eSIM normally leaves the number on your home line in place. You choose the travel profile for mobile data while deciding whether your home line should remain active for calls and messages. Keeping that line active may involve roaming charges under your home carrier’s terms.
Moving your existing number to a new Galaxy is a transfer; replacing its physical SIM with an eSIM is a conversion. Those actions affect the existing line in a way that installing a separate travel data plan generally does not. A new carrier line may have its own number, depending on the order.
Does a Samsung Galaxy Need Wi-Fi to Download an eSIM?
The Galaxy needs a working connection to obtain the profile from the activation service. Reliable Wi-Fi is the simplest preparation, particularly before travel or while moving a line from another phone. AT&T and T-Mobile both direct customers to Wi-Fi for specific Samsung activation flows.
Do not assume that every device and carrier flow fails without Wi-Fi; follow the instructions issued for your account. If an assigned plan will not download, check the internet connection before requesting a new code. Once the profile has downloaded, its later mobile-network connection is a separate step.
Does Deleting an eSIM From a Samsung Galaxy Cancel the Plan?
Removing the profile from the phone does not necessarily cancel the carrier contract, prepaid account or travel-plan purchase. Samsung says removal does not itself affect the contract with the network provider. Cancellation, when wanted, must be handled through the provider’s account process.
Deletion can still make a working line difficult to restore. The original QR code may be unusable for another installation, and a carrier may need to reassign the service. Confirm the provider’s replacement method before deleting a profile, especially if it carries your regular number.
Which Device Details Might a U.S. Carrier Request for My Galaxy eSIM?
A carrier may need the Galaxy’s model number and IMEI to check device eligibility. Depending on the eSIM assignment or transfer, it may also ask for the EID, existing phone number, account PIN or another verification code. Requirements differ for a new line, BYOD phone, upgrade, prepaid purchase and transfer.
Open Settings > About phone for the model and IMEI; look in the phone’s status details for an EID when requested and available. Give these identifiers through the carrier’s official app, website, store or verified support channel. Some account-led activation flows obtain device information within the app rather than asking you to type every identifier.
Can I Use My Old eSIM QR Code to Move Service to a New Samsung Galaxy?
Do not count on it. The old code may have been intended for one installation or assigned to the previous device. A phone-to-phone transfer, carrier account change or newly issued profile may be required even when both Galaxies support eSIM.
Start with the carrier’s instructions for moving an existing number, not the original installation email. Keep the old phone working and available for approval until the carrier has moved the line and you have tested the new Galaxy. A travel provider may have different replacement rules, so ask that provider before attempting to install its plan on a second phone.
When Should I Install a Travel eSIM on My Samsung Galaxy?
Installing it while you have reliable internet can give you time to download the profile and confirm that it appears in your Galaxy’s SIM manager before departure. That is especially useful if you expect limited Wi-Fi when you arrive.
First check the provider’s validity policy. Some plans start when the eSIM is installed; others start when it first connects to a supported network. Installation and usable service can therefore begin at different times. A regional or global plan may even cover your current location, so do not assume it will wait until your flight lands.
When the provider permits advance installation, you can add the profile and leave it disabled until you need it. Follow that provider’s activation instructions for the correct installation date, line settings and time to turn it on.
Related Guides
- Activate an eSIM on iPhone if you are setting up an iPhone instead of a Samsung Galaxy.
- Compare travel eSIM plans for a trip if you still need to choose a plan before installing one.
- Estimate how much travel data you need before selecting a data allowance.
Final Thoughts
I would start with the model number on the Galaxy and the instructions issued for the actual plan. Those two details tell you more than a generic “Samsung eSIM” walkthrough: they determine whether the phone is eligible and whether you should accept a carrier-assigned plan, scan a code, use an app, transfer a line or convert a physical SIM.
Take particular care when the line already works on another phone or SIM. Keep that device available until the number works on the new Galaxy. Then check SIM manager, choose the intended mobile-data line and test the services you need with Wi-Fi off. For a travel plan, make that final connection test when the provider says its coverage and validity should apply.